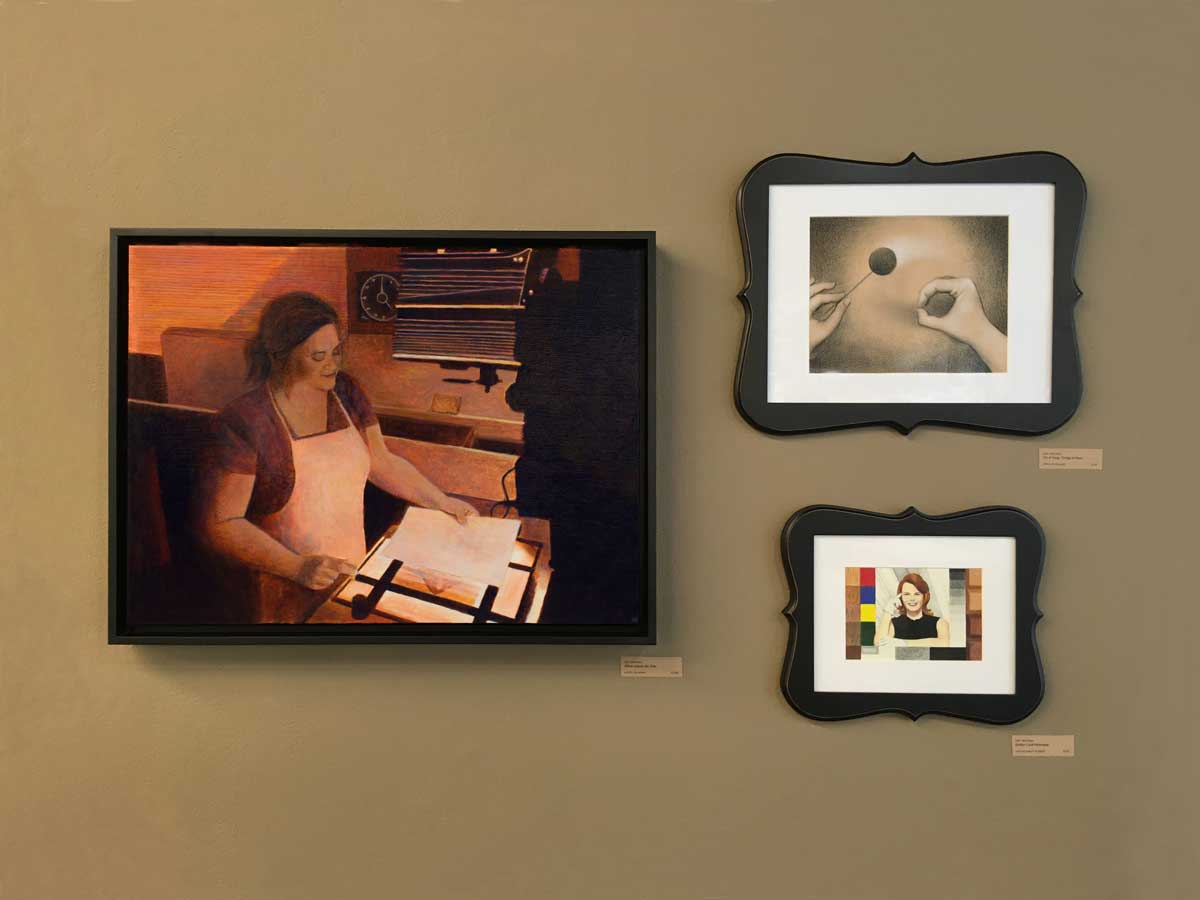
ACRYLIC ON CANVAS • 24″ x 18″
$1200: Jillian Adjusts the Tone • Email julie@juliemeridian.com to buy this artwork ⇢
Darkrooms are the fourth of seven technologies I’ve explored in Prior Art: analog media manipulation and vintage virtual reality.
Jillian Adjusts the Tone
“As a digital photographer, the world of film has always been cloaked with the mystery of alchemy and magic. Exploring a working film lab was fascinating, and Lynde was so generous in explaining different aspects of development – the process is much more rich and complex than I had imagined.”
Jillian Cocklin // epoxystudios.com
The darkroom is a workshop to allow photographers to develop film and make prints. Since film development relies on careful control of light, a safelight is the only lighting used for illumination. Many black-and-white papers are sensitive primarily to blue or blue-green light, so a red or amber- colored light will keep the paper from accidental exposure. A variety of chemicals are used to develop and set the film, usually in conjunction with a trough-style sink and plastic trays. An enlarger, which looks somewhat like a vertically-mounted camera, is used create prints by projecting light through a piece of film onto exposure-sensitive paper for a precise amount of time.
Correct exposure depends on the content of the photo as well as the sensitivity of the paper. To get the right tone, photographers will take a test strip of paper and progressively expose portions of it for set durations of time. That way, they can evaluate a range of results to identify the right exposure time to use for that particular photo and paper.
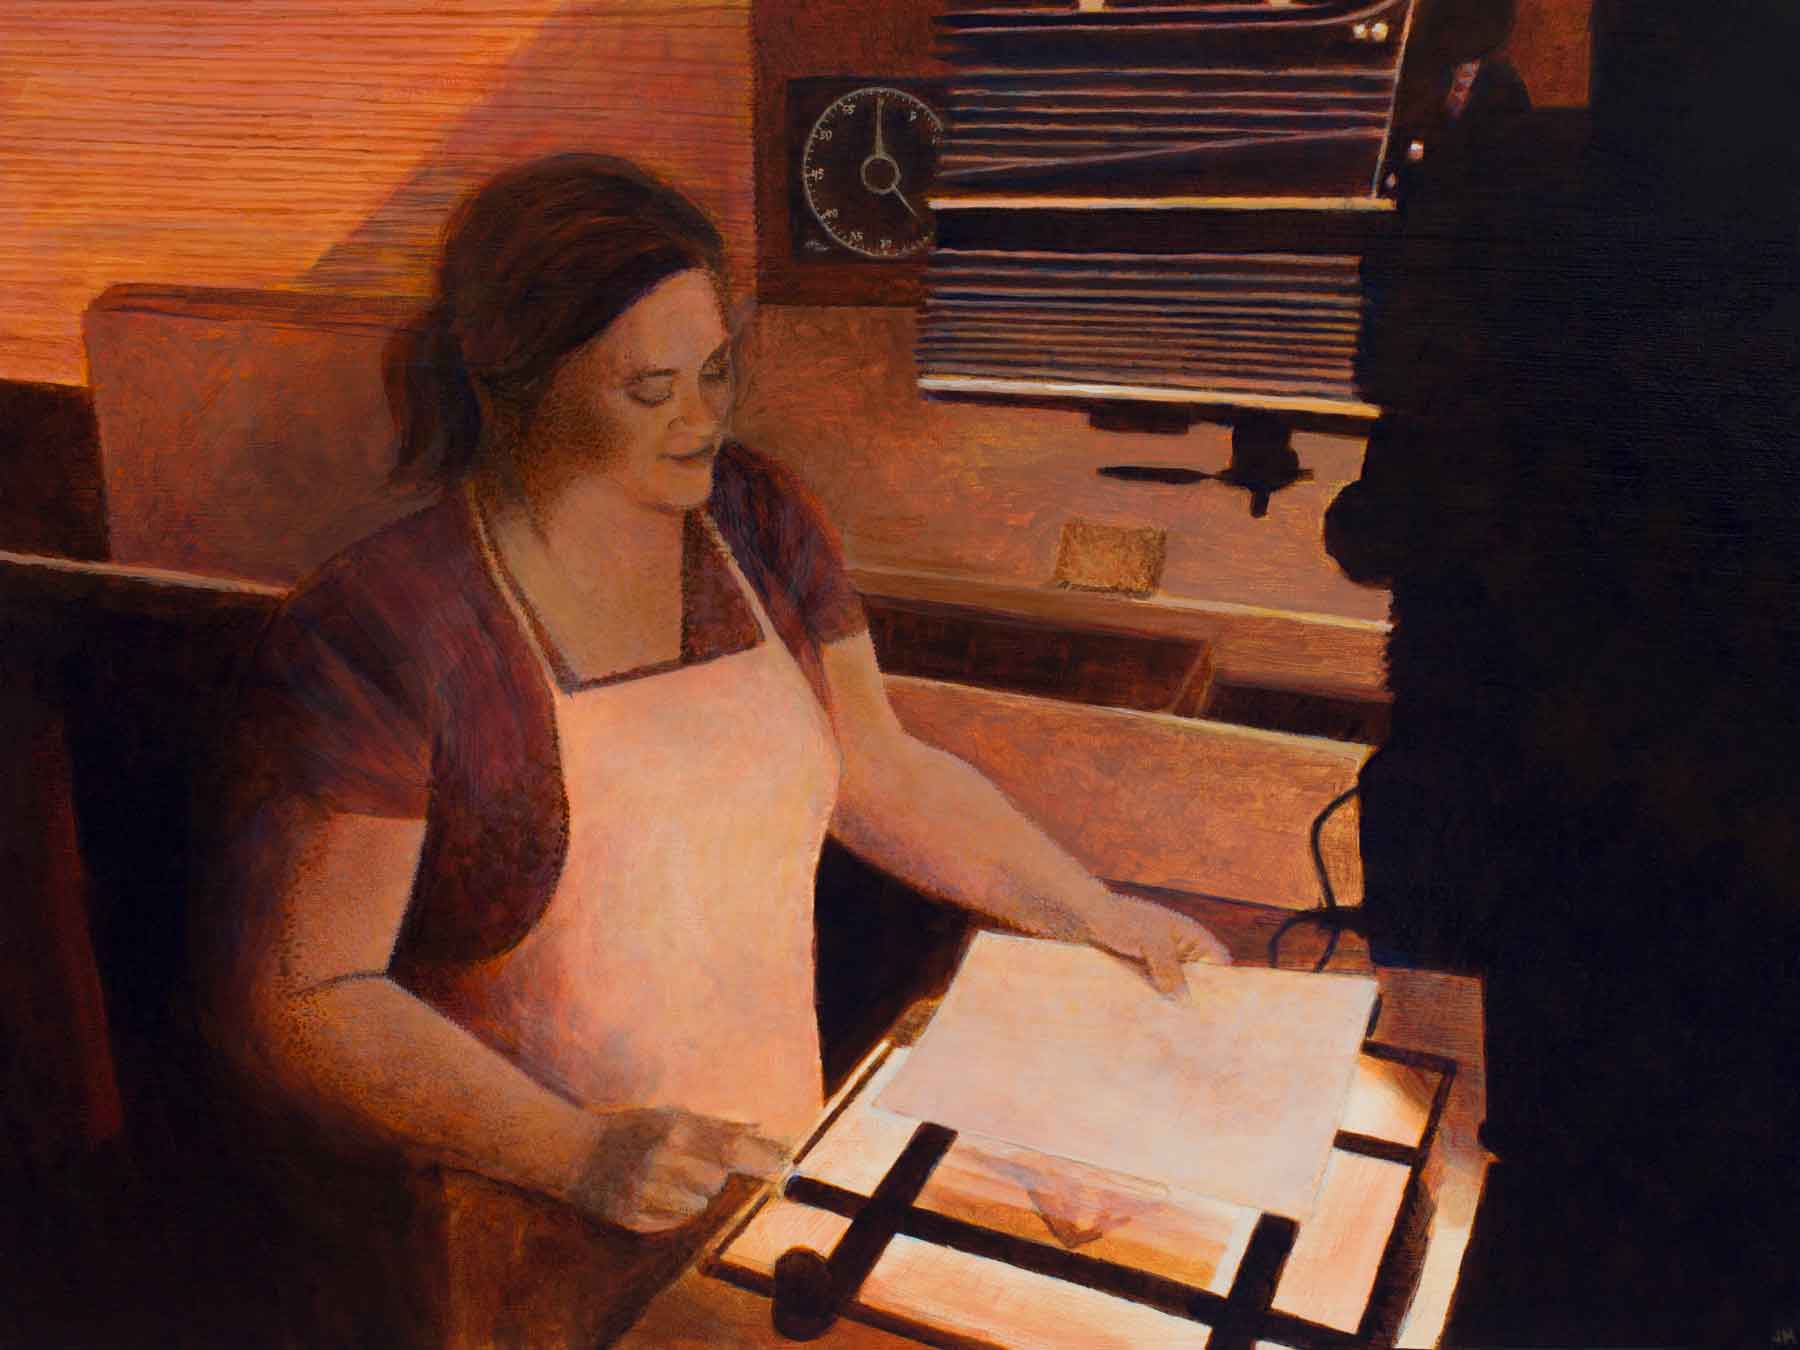
Yin & Yang / Dodge & Burn
The amount of time a photo is exposed to light before it is “set” determines how light or dark it will be. Photographers can selectively expose or mask areas of photos to create particular effects.
“Dodging” involves using a cutout shape on the end of a thin stick to prevent portions of a photo from being exposed to light. Since exposure to light makes a photo darker, those protected portions remain lighter. “Burning” creates the opposite effect: using a mask or hole for light to pass through to create extra exposure to light (and therefore darker results). A quick way to do this is with one’s hand, but it can also be done with any object that can selectively expose light.
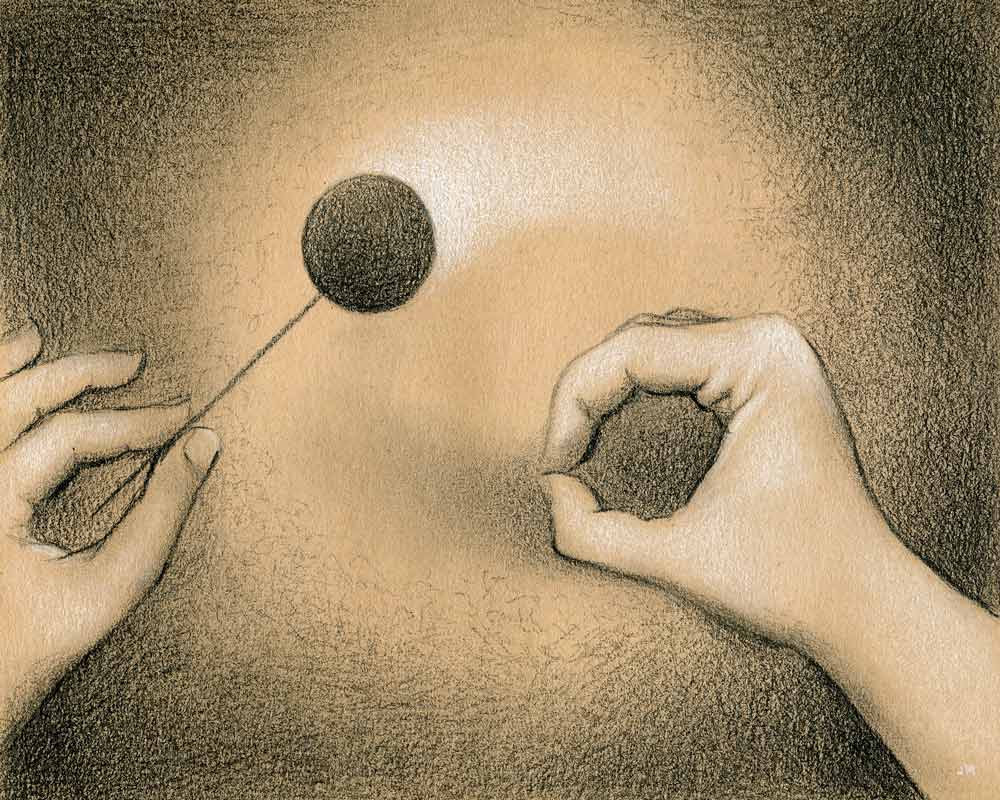
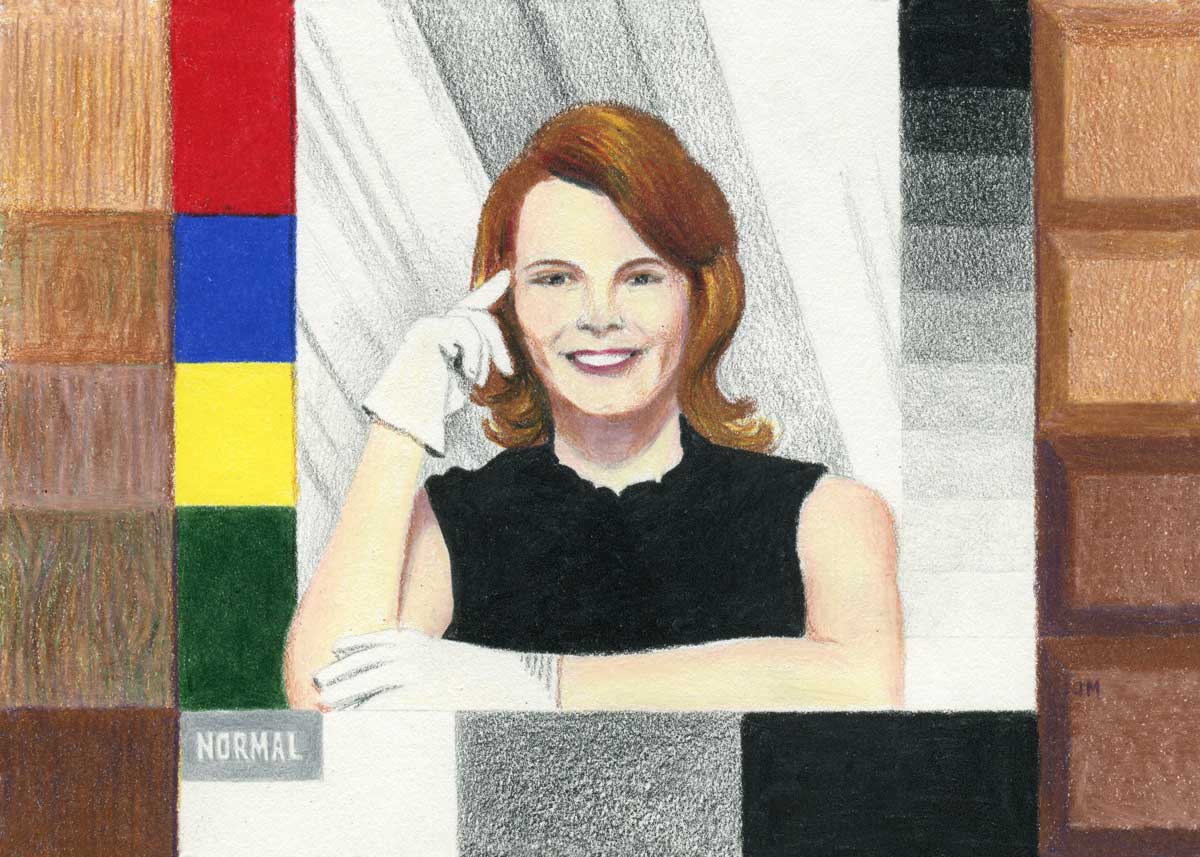
Shirley Card Distortion
To create consistent results, film producers created a reference photo to represent an ideal range of colors and tones. In addition to showing basic colors and a grayscale range, these also included a person for reference. One early model was a Kodak employee named Shirley, so they became known as “Shirley cards”.
However, each reference only included one model that was always a caucasian female. This resulted in chemical calibrations that had very little nuance in brown tones, so all other skin tones turned out off-balance with distorted colors and often too dark to capture detail. Amazingly, film producers didn’t start including a wider range of brown tones until they received complaints from furniture and chocolate manufacturers that they couldn’t differentiate their range of products in photos. Later reference cards were updated to include multiple multiracial models.
Leave a Reply